
I didn't make it out of the first round of One Month To Win It Season 7, but I'm not going to let it get me down! I'm pretty proud of my little clock and I was up against some really amazing projects. Since I'm proud of my project, I wrote out a tutorial if you might want to make one yourself.
The night before my first One Month To Win It project was due, I declared my first project a craft fail (I will revisit it another day, I swear!) and headed to Michael's, 50% off coupon in hand to try to figure out what the heck I was going to come up with on such short notice.
The night before my first One Month To Win It project was due, I declared my first project a craft fail (I will revisit it another day, I swear!) and headed to Michael's, 50% off coupon in hand to try to figure out what the heck I was going to come up with on such short notice.
I was in the unfinished wood aisle when I noticed that their wood plates were on clearance. Hanging right above them were all the parts to make your own clock. I remembered a beautiful Eiffel Tower graphic that had been on Graphic Fairy just the day before and it all came together in my head.
Please excuse any irony that you see in this project...

Not too bad for a last minute project? Amazing Boyfriend was even a little impressed by the finished product, because I guess when I was explaining to him what I was planning on doing and he couldn't picture it.
 |
| via Graphics Fairy |
It's a shame I wasn't able to use more of the pretty graphic on my project, but I'm so pleased with how well it turned out. I will be definitely attempting a similar project in the future!
Wanna see how I did it?

Supplies:
wooden plate
clock movement kit
drill and drill bits
numbers (you can use ones that come in a kit, vinyl numbers, stickers or paint them on)
paint
graphic
mod podge
polyurethane varnish
paint brushes
scissors
pencil
ruler
I started this project by painting my wooden plate. I decided to use black since I really wanted my graphic colors to pop. I did two coats, to make sure it was well covered, but I left the middle part, where the graphic is going to go, unpainted.


While my plate was drying, I prepared my graphic. I took the easy route and used my Silhouette machine to cut out a circle that was a little smaller than the diameter of my inner circle for me to trace, but you could very easily find something round that's about the same diameter as your plate and trace around that. Trace out the area of the graphic that you want to use and cut it out.


I also used my Silhouette machine to cut out the vinyl numbers that I used for my clock. Ironically, they're in the French Script font. But you could very easily use the numbers that come in some clock kits, or stickers or just paint them on. The preference is really up to you.

Now that your plate is dry, it's time to mod podge! Apply a thin coat of mod podge and apply your graphic. Make sure to smooth out the graphic as you go, but also be careful because if you apply too much mod podge it can soak through the paper and smear your graphic. You can tell from the last picture that I ended up with a few wrinkles in my graphic, but I decided to keep going, because my graphic was getting saturated and I didn't want to smear the ink.


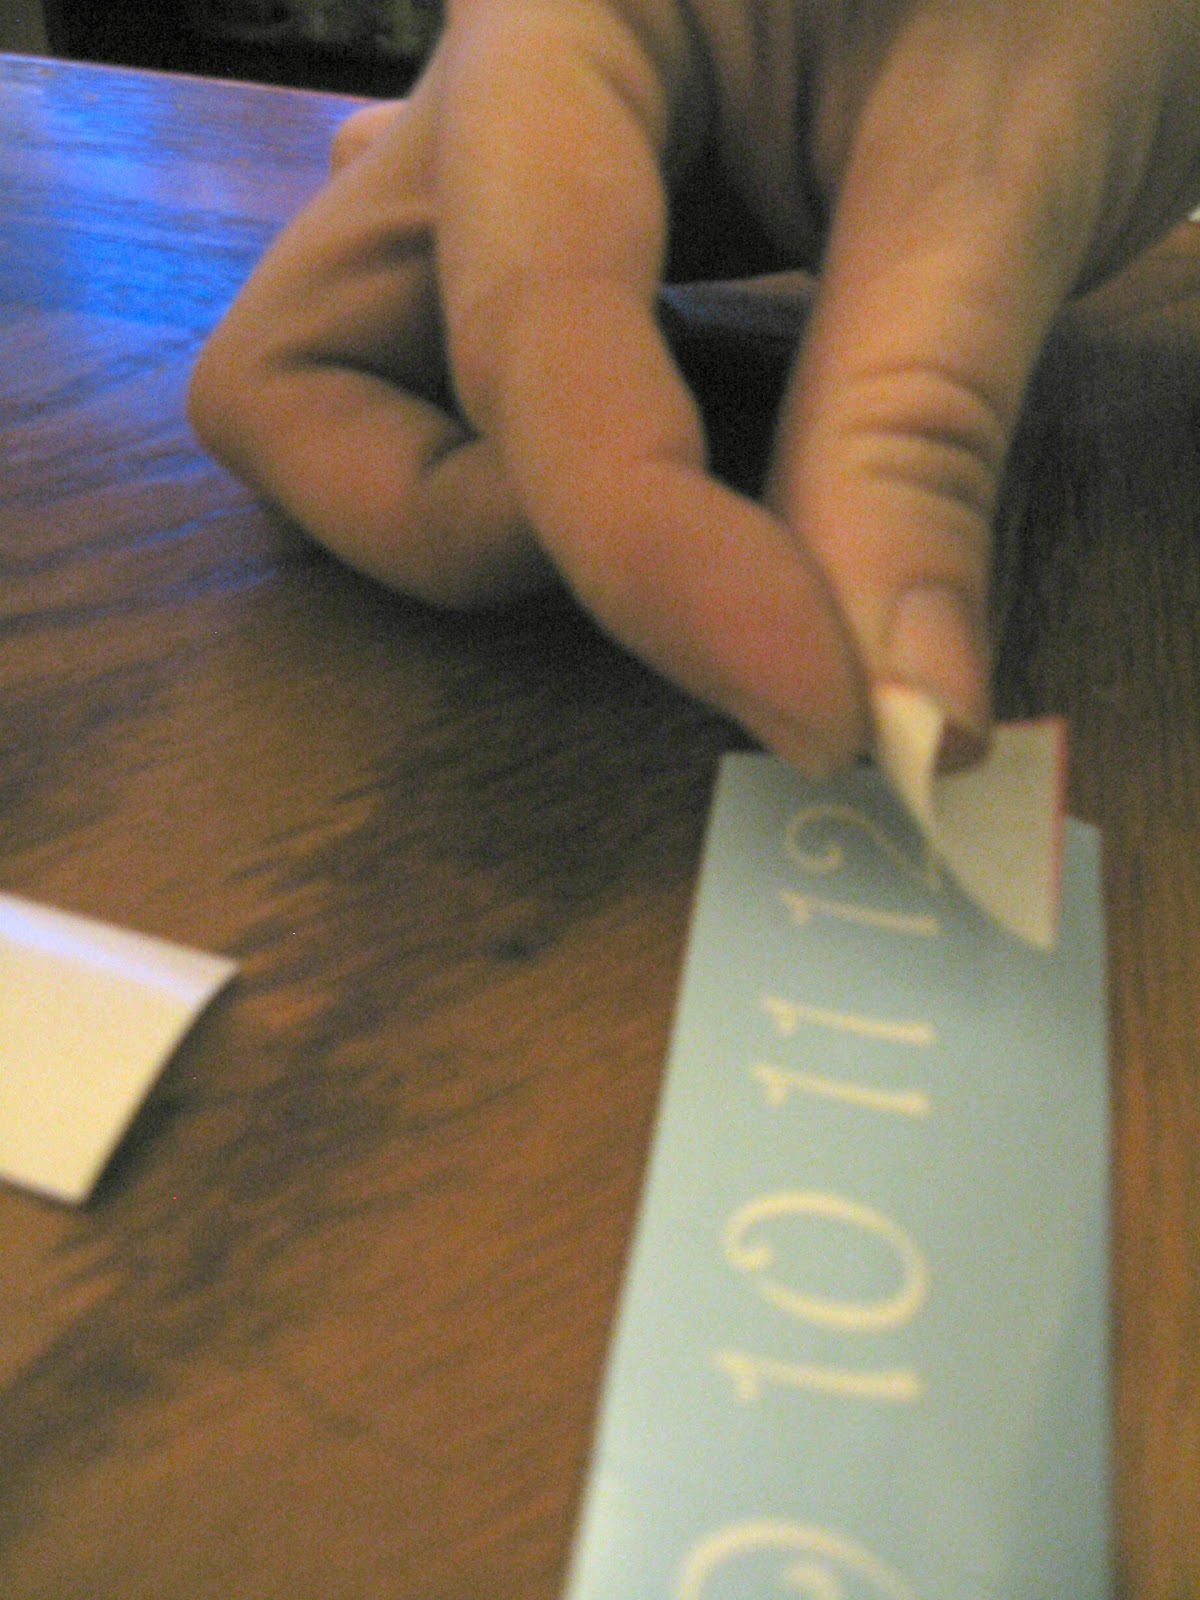
While I was waiting for the mod podge and graphic to dry, I applied my vinyl numbers. You might notice in the bottom picture that my numbers did end up a little bit off, but again, I just kept on going. Amazing Boyfriend thought that I should have figured out what the center of the plate was (because that's necessary later) and carefully measured out where my numbers were supposed to go from there. I did some measuring, but I also did some guestimating as well.


Once I had my numbers applied, and my graphic was dry, I applied a coat of polyurethane to the entire face of my clock. The reason that I used polyurethane is because I printed out my graphic with an inkjet printer which uses water-based ink. If I used a water based product, like mod podge, to put a clear coat over the top of the graphic, it would smear the ink. Not only does the polyurethane seal the graphic to my plate, but it protects the paint on the outer part of the clock face.


When your polyurethane coat is dry it's time to make it into a clock! The first step is to figure out where the center of your clock is. If you've already done this when you were applying your numbers than kuddos, otherwise, use your ruler to measure out your plate and find the center. Make a little mark to use as your guide.

Once you've found the center of your clock, your ready to drill your hole. I drilled a pilot hole with a smaller drill bit first, then switched to a larger drill bit to make my hole the appropriate size.


Once your hole is drilled, assemble the clock movement kit. Fit the long screw part of the device through your clock from the back and screw the nut down on the face of the clock to secure the clock device. Than attach the hands of the clock in the order of hour, minute than second hand.


When you're done, install a battery into the clock device, set the time and hang it up.


I'm pretty happy with how this project turned out, and ABF has now showed some interest in making a few clocks after watching me make and assemble this one, so I forsee some more clock making in my future.
I'm sharing this project at the following link parties:


Sorry to see that you didn't move on.....I like your clock! :).....keep up the great work!
ReplyDeleteAwesome project! I have 2 of those unfinished plates just sitting around that I bought because they were on clearance, now I finally have an idea for them!
ReplyDeleteI love it! I think it turned out great! The ideas are running through my head! Thanks for the inspiration.
ReplyDeleteThat looks awesome. I love it.
ReplyDeleteOh wow this turned out so great! I've been wanting to make a clock so when I'm ready I know just where to turn for help!
ReplyDeleteThis turned out great. Sometimes those last minute projects turn out the best!
ReplyDeleteThis is great :)
ReplyDeleteHi Bethany, I just adore your clock. You and I must have been checking out The Graphics Fairy about the same time because I have just finished framing some of the Parisian pictures, e.g. Eiffel Tower, to put on my wall. I just blogged about it today. Thanks for sharing. Have a wonderful evening. Hugs, Chris
ReplyDeletehttp://chelencarter-retiredandlovingit.blogspot.com/
Great job!
ReplyDeleteI was diagnosed as HEPATITIS B carrier in 2013 with fibrosis of the
ReplyDeleteliver already present. I started on antiviral medications which
reduced the viral load initially. After a couple of years the virus
became resistant. I started on HEPATITIS B Herbal treatment from
ULTIMATE LIFE CLINIC (www.ultimatelifeclinic.com) in March, 2020. Their
treatment totally reversed the virus. I did another blood test after
the 6 months long treatment and tested negative to the virus. Amazing
treatment! This treatment is a breakthrough for all HBV carriers.