Showing posts with label etching cream. Show all posts

Thursday, March 14, 2013

It's My Party And I'll Drink...

My Mom & Dad are throwing me a party for my 30th birthday this Saturday. Lots of family and friends over for good food and of course, a few drinks. 

I decided to make myself a special birthday glass for my party using DecoArt glass paint pens. 


I have a small confession to make. I don't draw. I feel like my drawing skills are extremely limited to stick figures and the like. So I decided for this project to make a stencil out of vinyl and use that for the lettering. 

If you follow me on Instagram then you've already seen a sneak me of this project. If not, follow me here.


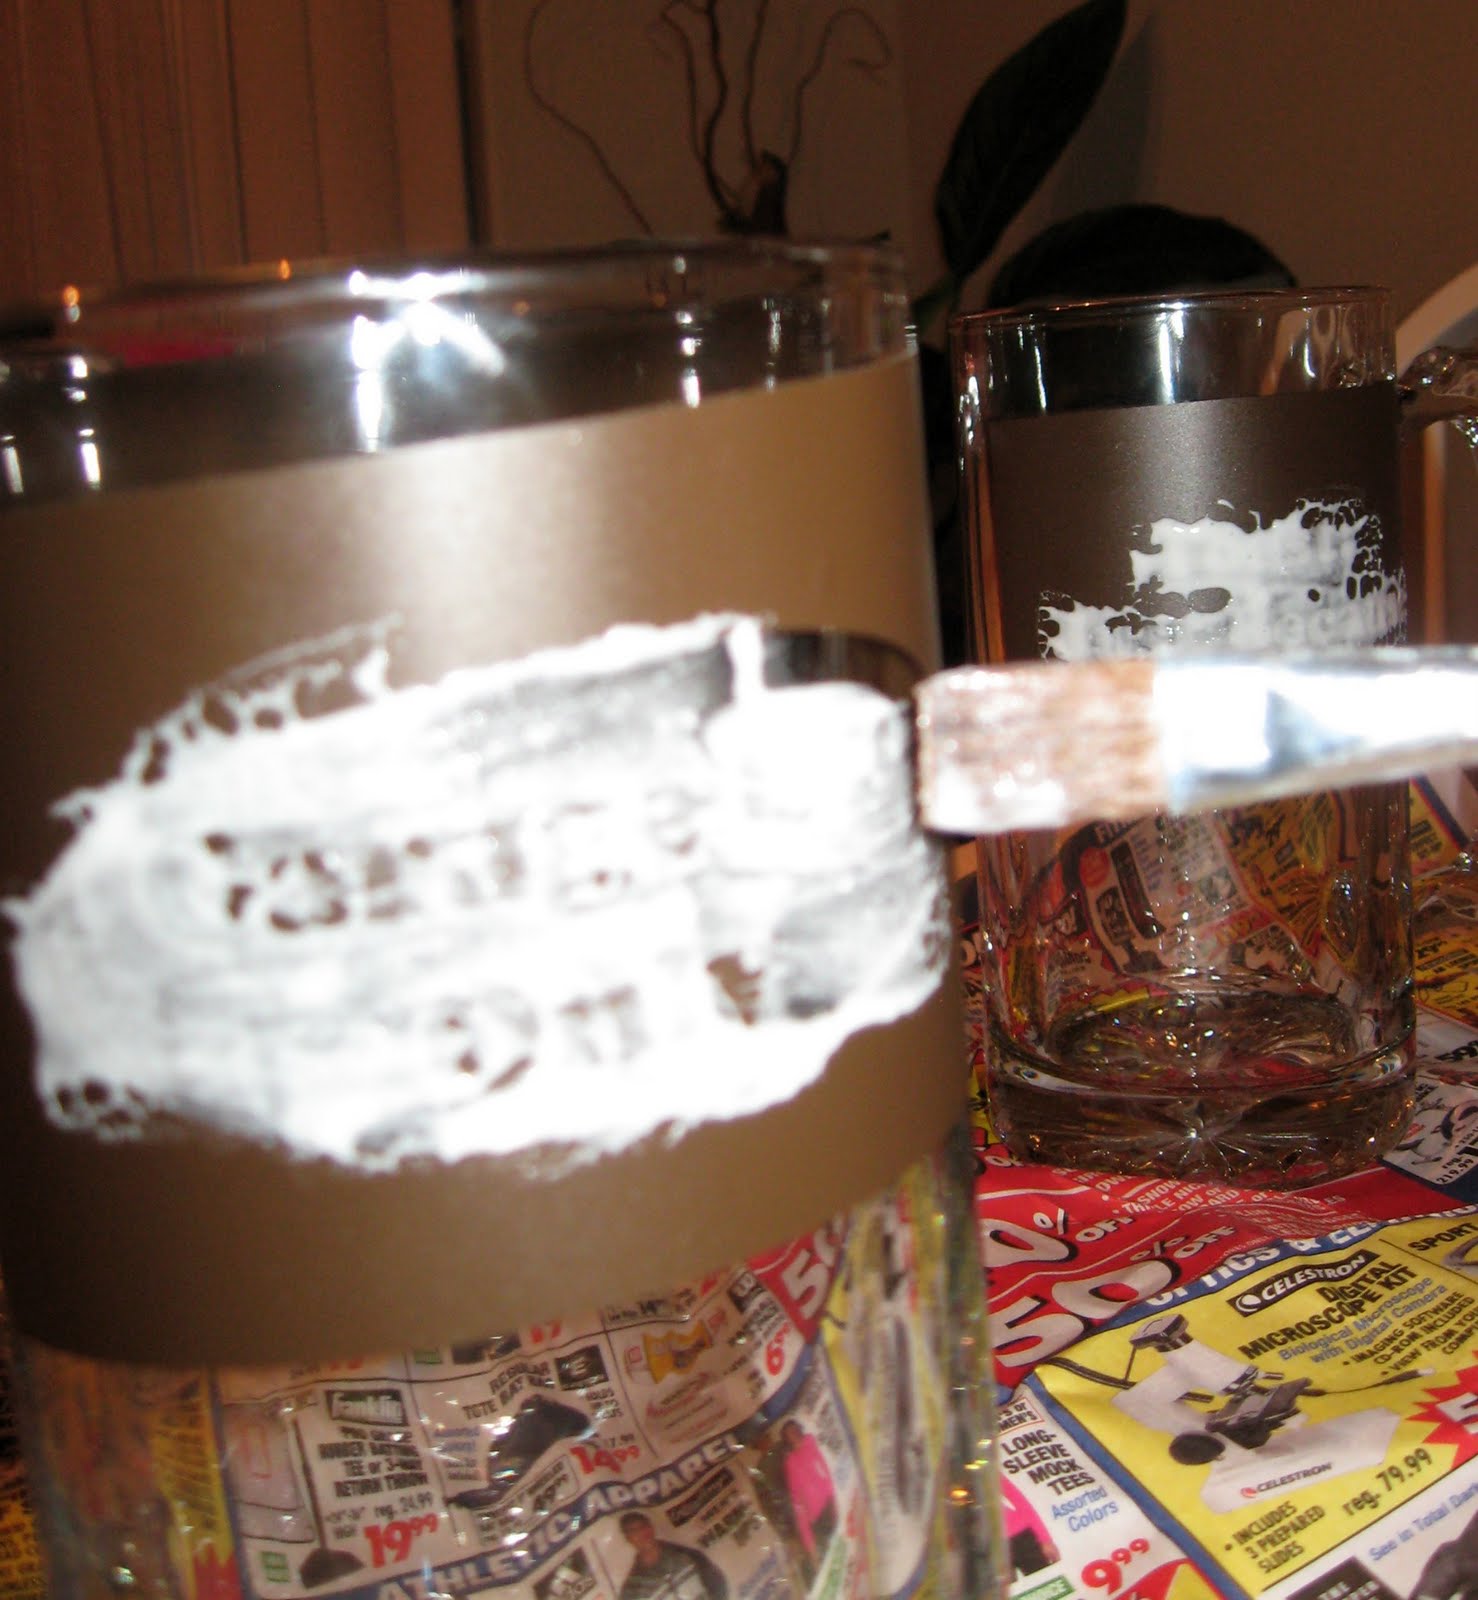
Now, this is when my craft fail comes into play. I've never used the DecoArt glass paint pens before, but was wanting to give them a try because it's good to try new things. I was surprised at how fast the paint dried, which was a good thing because I had to do a few coats to get it dark enough to make me happy. 


 The problem was that when I peeled the stencil off, most of the paint came off with it. 

Craft Fail!!! 

However, I was determined to make this work. 

Let's try a different tactic. 


I remade the stencil and used etching cream to etch the design into the mug. Once the design was etched in, I used the paint pens to trace over the etched design and give the mug a little bit of color. 


This time success!!! 

The best part is that once I was all finished with this project I realized that I could have just printed out the design and taped it inside the glass to trace it on. Oh well, maybe next time. 

Now my mug is all ready for my party on Saturday night. I'm sure it's gonna be a good one!


Saturday, February 16, 2013

Can I Tell You A Secret?

I have a good friend who is really into mysteries and spy craft. He really likes things like hidden doors and secret messages, which was why when I saw this idea on Pinterest, I knew I had to make a set of these secret message glasses for my friend! 
 

Didn't they turn out awesome?!
 
I used my awesome Silhouette machine to make the stencil, flip the wording backward, and cut the stencil out of vinyl. I used the following phrases: "I spit in that", "this isn't your glass", "you have just been poisoned" and "did it taste funny?" 
 

 I applied the stencils to the bottoms of the glasses I bought, making sure you could read the sayings through the bottom of the glass. 


I taped off the edges around the stencil, just to make sure I didn't get any etching cream where I didn't want it to go. 


Then I applied the etching cream. I use Armour Etch, which you can buy at Michael's or your local craft store.


 The directions say to leave the etching cream on for 5 minutes, but I like to leave it on a little longer, usually about 20 -30 minutes. Then you just wash it off in the sink, and I have a soft sponge I use for etching projects to make sure all the cream comes off. 
 

 Once all the cream is washed off, peel off the stencil and see your pretty design. 


 I'm so excited with how these turned out, even though a few of the stencils bled in a few spots, but you can still read them so I'm calling it a success. 

What do you think?


I'm sharing this project at the following link parties: 

~ What's In The Gunny Sack @ The Gunny Sack ~ Tutorials & Tips @ Home Stories From A to ZTake-A-Look Tuesday @ Sugar Bee Crafts ~ Too Cute Tuesday @ Funky Polkadot Giraffe ~ Teach Me Tuesday @ Some Day I'll LearnTime To Shine @ A Diamond In The Stuff ~ Tell Me Tuesday @ Him & Her ~ Show Me Whatcha Got @ Not Just A Housewife ~ Hoo's Got Talent @ Night Owl Crafting ~ Lil Luna Linky Party @ Lil Luna ~ Your Whims Wednesday @ My Girlish Whims ~ Wow Me Wednesday @ Ginger Snap Crafts ~ Wicked Awesome Wednesday @ Handy Man, Crafty Woman ~ Show & Share @ Southern Lovely ~ Wildly Original Link Party @ I Gotta Create ~ Transformation Thursday @ The Shabby Creek Cottage ~ Creative Juice Thursday @ Momnivore's Dilemma ~ Link Party @ The 36th Ave ~ BFF Open House Link Party @ The Answer Is Chocolate ~ Delicately Constructed @ Delicate Construction ~ Anything Goes Linky @ Bacon Time ~ Weekend Bloggy Reading @ Serenity Now ~ Free for All @ Young & CraftyWeekend Wrap Up @ Tatertots & Jello ~ Strut Your Stuff Saturday @ Six Sisters' Stuff Show & Tell Saturday @ Be Different Act Normal ~ Think Pink Sunday @ Flamingo Toes ~ Sunday Show Off Link Party @ Twigg Studios ~ Sundae Scoop Link Party @ I Heart Nap Time ~


Thank you for featuring me!!!

Someday I'll Learn


Saturday, December 15, 2012

Cheers To The Bride & Groom

I know I've mentioned a couple times in past posts that I'm helping with the wedding of two of my good friends, Heather & Tillman. They are having a small, simple, winter wedding. 

As a nice little something extra, I decided to make bride and groom toasting glasses for their special day. 

What do you think? 

I started off with two plain champagne glasses, glass etching cream and stencils I made out of vinyl using my awesome Silhouette machine. 


I carefully applied the stencil to the glasses. My idea was to do the Mr. and Mrs. designs in relief, so I made sure the stencil was exactly where I wanted it. 


 Once I had the stencils exactly where I wanted them, it was time to apply the etching cream. I personally use gloves every time I use etching cream, just to make sure I'm protecting my hands.


 The directions say that you should leave the etching cream on for about five minutes before washing it off. I usually wait about 20 - 30 minutes before washing the cream off, just to make sure the cream has had time to do its thing. When you're rinsing the glasses make sure you rinse it really well to get all the cream off. 


Once the etching cream is washed off, all that's left is to peel off the stencil and admire your design. 


I added some ribbon to tie the glasses in with the rest of the wedding decor. 


I'm very pleased with how they turned out, and I think it's the perfect idea for a winter themed wedding! The bride loved them, and that's what is really important. 


Cheers to Tillman & Heather! 

I wish you all the happiness in the world.


I'm sharing this project at the following link parties: 

~ Take-A-Look Tuesday @ Sugar Bee Crafts ~ Tutorials & Tips Link Party @ Home Stories From A to Z ~ Show Me What Ya Got @ Not Just A Housewife ~ Lil Luna Link Party @ Lil Luna ~ Wow Me Wednesday @ Ginger Snap Crafts ~ Your Whims Wednesday @ My Girlish Whims ~ Show & Share @ Southern Lovely ~ Wildly Original Link Party @ I Gotta Create! ~ Creative Juice Thursday @ Momnivore's Dilemma ~ Transformation Thursday @ The Shabby Creek Cottage ~ BFF Open House Link Party @ The Answer Is Chocolate ~ Anything Goes Link Party @ Bacon Time ~ Delicately Constructed @ Delicate Construction ~ Weekend Bloggy Reading @ Serenity Now ~


Saturday, August 6, 2011

It's a Family Tradition

I love that I was raised in a large, close-knit family. My Granny always taught us that family is more important than anything in the world. And it's from my Granny that one of my favorite traditions comes from. 
 
As long as I could remember, my Granny had coffee on saturday mornings with her brother and his wife. When her brother passed away, followed not long after by his wife, my family kept up this weekly tradition by going to her house for coffee and donuts. It gave her something to look forward to every week, and it gave my family a chance to check up on her without being really obvious about it. After my Granny had a stroke and was living in a nursing home, my family still kept up the tradition by taking coffee and donuts to the nursing home every week, just to let her feel a sense of normalcy despite everything being different. 
 
After she passed away, the tradition continued and has been moved to my parents house. Someone brings the donuts or goes to get them, coffee is made and poured and aunts/uncles/cousins/siblings/close family friends stop in and out during the course of the morning. It's a nice way to keep track of what's going on with my family. 
 
 On a recent trip to the dollar store, I picked up a clear glass plate, not really knowing what to do with it, but knowing that I would be able to use it for some sort of project. It didn't take me long to decide to make a plate that can be used on saturday morning for donuts. 
 
I used my Silhouette software to design a subway art type graphic. I cut it out on some blue vinyl and removed the letters to make my stencil. 
 
I used transfer tape to apply the graphic to my plate. Then used etching cream to etch my design. If you've never used etching cream before (and why not, it's so easy!), I've already made a tutorial you can find here
 
 I'm so pleased with how this project turned out. I've never done a subway art project before but I'm very happy with the result. Hopefully, this will be a good addition to an already strong family tradition. 

Saturday, April 23, 2011

Belated Birthday or Early Father's Day Present...

Either way, this post is all about the gift that I made for my Dad.  

My Dad's birthday is actually the beginning of January. (Yup, I did say January.) I'm not gonna tell you how old he is, especially since my Dad really doesn't act his age (or anywhere close to it.) Unfortunately, in January is when Amazing Boyfriend started having health problems and life got in the way so I never got around to making this project for my Dad until now.


I made Dad his very own...


Etched Beer Mugs!!!

Wanna see how I did it? 


Supplies
glass pieces to etch
etching cream
contact paper or vinyl
paint brush
craft cutting machine

This isn't my first project that I've made using etching cream. I used etching cream quite a bit around the holidays on different items for a few birthdays and Christmas gifts. I got pretty good at using it. But I've had several of my friends ask me if using etching cream is difficult. So I figured with this project that I'd show all my steps. Because honestly, the truth is that if I can do it, it really can't be that hard. 

To get started, you need to decide what you're design is going to be. I'm one of those lucky people that own a silhouette machine (please don't hate me), but you can still do this project if you don't have a craft cutting machine. You just have to cut out your design on contact paper with a craft knife .


After you have the design cut out onto your contract paper or vinyl, you need to apply your stencil to your glass piece. Make sure that your piece is really clean, but don't use an ammonia based glass cleaner because it reacts with the etching cream. I used vinegar and it worked perfectly. 


Once you have your stencil in place, it's time to apply your etching cream. I always wear gloves when I'm working with etching cream, although sometimes I think I'm just being overly cautious. I just use a soft bristle brush to apply a good layer of the cream to the stencil. I learned the hard way that if you use a brush that's too firm it can leave streaks with the etching cream. 
 
Safety First!!!


The instructions on the bottle of etching cream says that you should leave the cream on for 5 minutes, but I feel like it you get better results if you leave it on a little longer. I leave it on for about 20 minutes before washing it off.

 
Once you wash the etching cream off, remove the stencil and dry your glass piece off. When the glass piece is wet it's hard to see how your design turned out but once it's dry it'll show up nicely. Now you're left with an awesome permanent design! 


So cool, right?  


Seriously, the look so much cooler in person, I promise! 
(It's really hard to take a picture of etched glass, especially when there is a design on both sides of a glass and I have to take pictures at night.) 

My beer mugs say Garage Use Only on one side, since my Dad's garage is a regular place where people congregate and drink. On the other side of each mug I put a toast, which is something that happens in the garage after someone has had a few. The toast idea was actually Amazing Boyfriend's idea, but I loved it. The toasts I used are: 

Toast: to Family and Friends

Toast: Good Times

Toast: to Rainy Days

Toast: Just Because

Amazing Boyfriend came up with a few others after I'd already made stencils and gotten the mugs prepped for etching, so maybe I'll use them on another project. But I think my Dad's gonna love these. I know I do. 

This project was featured:


I'm sharing this project at the following parties:



Related Posts Plugin for WordPress, Blogger...