Monday, January 30, 2012

Flip The Switch

Sometimes I can be pretty random 

(I'm sure anyone who knows me in real life is nodding right about now...) 

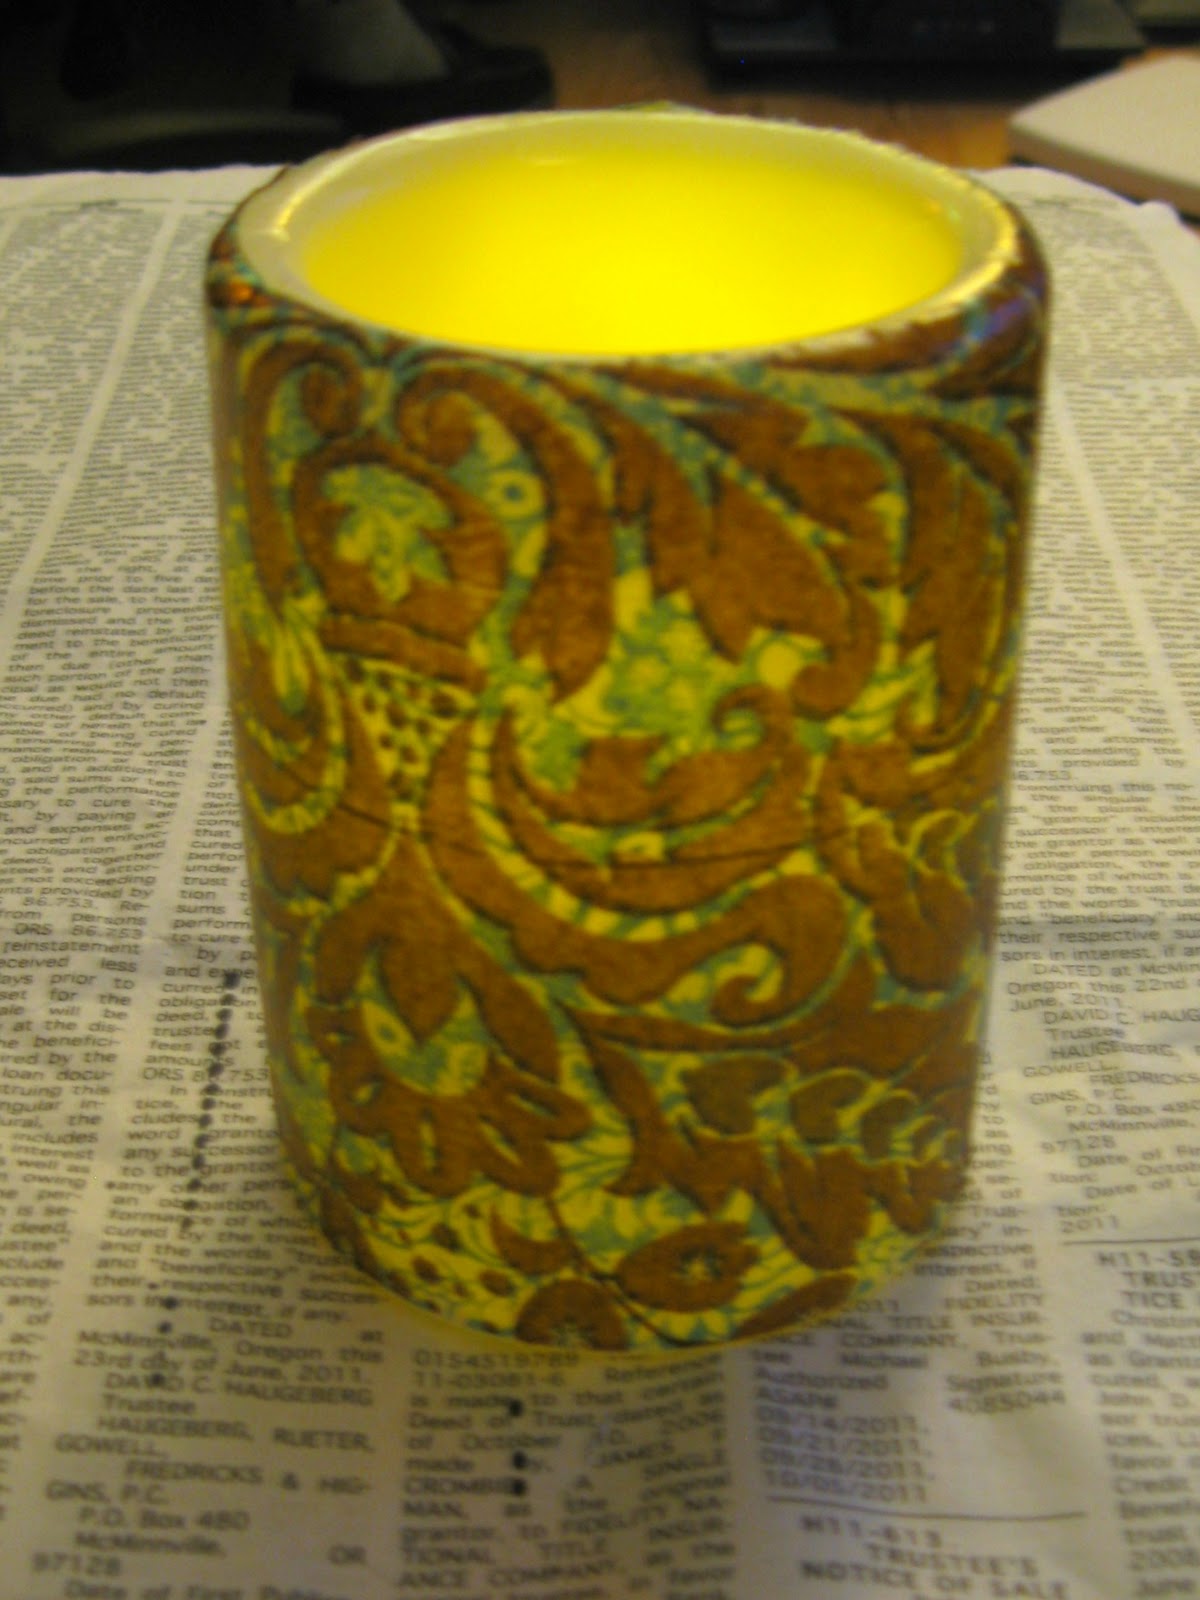
This is what can happen when I decide to do something pretty random...


I've had this project idea on the "back burner" for awhile, ever since I rescued some old light switch covers from my parents house when they repainted their living room and dining room and replaced all of their old covers. 


 However, Amazing Boyfriend wasn't really expecting it when I pulled out my screwdriver and took off our light switch cover in our room.


The conversation when a little something like this...

ABF: "What are you doing?" 


Me: "I'm going to decoupage this light switch cover." 

ABF: "Why?" 


Me: "Because I can." 

ABF: shrugged and said, "Well, if you screw it up I guess we can just buy a new one." 


It's nice to know he has such confidence in my crafting skills. 

Thursday, January 26, 2012

"When In Doubt, Just Add Glitter!"

link

While planning on making these mod podged flameless candles inspired by Crafting Rebellion, I ran across this picture on Pinterest. 

link

Glitter on candles? I've seen it done on traditional candles, so I figured I'd give it a try on some dollar store flameless candles.  What do you think?


I'm thrilled with how they turned out!


Wanna see how I did it? 

Supplies: 
flameless candles
glitter (whatever color you want!)
mod podge
paint brush or sponge brush
paper plate or piece of paper


First I took the labels off the candles. If you are using the dollar store ones, like what I've used, they are kind of a pain, but will come off eventually. 


Working in sections, apply a thin coat of mod podge along the side of the candle.


Once you've applied your mod podge, sprinkle a layer of glitter over the wet mod podge and tap off the excess glitter. I did this step over a paper plate, so I could reuse the excess glitter, but a piece of paper works just as well.


Keep working around the outside of the candle with a coat of mod podge, than a coat of glitter until the entire candle if covered.  


When the sides of the candle are covered, coat the top lip of the candle and dip it into glitter that you've put onto the plate (or piece of paper). Make sure it's well coated. 


When the first coat was dry, I did add a second coat on the red and the pink candle because the glitter looked a little thin, but you don't have to add more glitter if you don't want to. When your candles are dry, and your happy with the amount of glitter on them, the next step is to seal your glitter using your mod podge. Using your paint or sponge brush, coat a thin layer of mod podge over the glittered area of your candle. The mod podge will go on white, but it dries clear. 


When the last coat of mod podge is dried, you are finished, although you could easily embellish them with twine or ribbon wrapped around the candle and tied into a cute little bow or come up with some equally creative embellishment. The fun part is that you can use any color, so you can make them for any occasion!


I think a few of these will make Valentine gifts for a few sweet girls that I know! 


I'm sharing this project at the following link parties: 

Make It Great Monday @ Etcetorize ~ Cure For The Common Monday @ Lines Across My Face ~ What's In The Gunny Sack @ The Gunny Sack ~ Talent Tuesday @ Vintage Wannabe ~ Tutorials & Tips Link Party @ Stories From A to Z ~ Take-A-Look Tuesday @ Sugar Bee Crafts ~ Tuesday Talent Show @ Chef-In-Training ~ Turning the Daunting Into Do-able Link Party @ Project Queen ~ Totally Tutorial Tuesday @ My World Made By Hand  ~ Show Me What Ya Got @ Not Just A Housewife ~ Tell Me Tuesday @ Me & My Boys ~ Time To Shine @ A Diamond In The Stuff ~ TOO Cute Tuesday @ Funky Polkadot Giraffe ~ Craft and Tell @ Cherished Bliss ~ Lil' Luna Link Party @ Lil' Luna ~ Hoo's Got Talent @ Night Own Crafting ~ Wow Me Wednesday @ Ginger Snap Crafts ~ Your Whims Wedneday @ My Girlish Whims ~ Show and Tell @ Blue Cricket Design ~ Wicked Awesome Wednesday @ Handy Man, Crafty Woman ~ What's Up Wednesday @ Sew Woodsy ~ Show and Share @ Southern Lovely ~ Share The Wealth Wednesday @ Laugh, Love and Craft ~ Creative Juice Thursday @ Momnivore's Dilemma ~ Transformation Thursday @ The Shabby Creek Cottage ~ Share Awesomeness Thursday @ The 36th Avenue ~ T.G.I.F. Link Party @ Craft Junkie Too ~ BFF Open House Link Party @ The Answer Is Chocolate ~ Anything Goes Linky @ Welcome to Bacon Time ~ Weekend Bloggy Reading @ Serenity Now ~ Delicately Constructed Fridays @ Delicate Construction ~ Weekend Wrap Up Party @ Tatertots & Jello ~ Watcha Got Weekend @ Lolly Jane Boutique ~ Head To Head Showdown @ I Can't Stop Crafting ~ Strut Your Stuff @ Six Sisters' Stuff ~ Show and Tell Saturday @ Be Different Act Normal ~ Saturday Seven Party @ Positively Splendid ~ Sundae Scoop Link Party @ I {Heart} Nap Time ~ Think Pink Sunday @ Flamingo Toes ~ Sister Sunday Link Party @ Sisters of the Wild West ~ Sunday's Best Par.tay @ My 1929 Charmer ~ Craft Catwalk @ Embellishing Life ~


Tuesday, January 24, 2012

Let's Shed Some Light On The Subject...

When I was trying to figure out what to make for the first round of One Month To Win It, I briefly thought about mod podging graphics to candles. I even strolled down the candle aisle at Michael's, and saw LED candles and thought that would be an awesome project. However, the Michael's LED candles were more money than I was willing to spend, so I filed it away for another day. 

Imagine my surprise when I saw these super cute mod podged LED candles that Crafting Rebellion had made using LED candles... from the DOLLAR STORE!!! 

Of course I had to copy borrow such an awesome idea!


I found some paper napkins on the discount aisle at Jo-Ann's, and following the tutorial from Crafting Rebellion, I mod podged the napkins to the candles. I did have to re-do two of the candles because my napkin ripped, but I had plenty of napkins left over so it wasn't a big problem to start over. 

I'm so pleased with how these turned out! 

I think they'd make great little gifts for friends or co-workers. You could even add a charm or ribbon as an accent. 

I had so much fun making these decoupaged candles that I was inspired to make another LED candle project that I'll be sharing with all of you on Thursday! 


Tuesday, January 17, 2012

The Cure For The Post Christmas Blues

Have you ever noticed how bare everything looks after you take down all the Christmas decor? 
 
I notice it every year, especially at work since there's so much holiday decor, than one day it's all gone and the world seems a little depressing. 
  
 One of my best friends, Brandy Jeanne, has the coolest Dad-io in the world. 

(sorry about the cell phone pic, but it's the only proof we have that he rocked the pink apron)

He's all about the Christmas decor and their house is always decked out to the max, with multiple trees in the house and everything. 

But...
 

... after Christmas is over, and the holiday decorations have been packed up and put away in the attic, he goes through a post Christmas depression. 

 Since he's a big fan of my crafty endeavors, I thought to get him out of his post Christmas funk I'd make him a pretty winter wreath to hang on their front door. 


It's the least I can do since he donates all of his nice wooden cigar boxes to my craft stash. 

Thanks, Ken! 


Update 9/19/12: I've had many, many requests for a tutorial for this wreath, but I hate to let everyone know that I don't have one. I originally made this wreath with the intention of selling it in my Etsy shop, therefore I didn't make a tutorial. I've seen many tutorials for different tulle wreaths online and just adapted this wreath using the same ideas. Sorry for any inconvenience, but the materials aren't currently available to make a tutorial, so I'll have to wait until closer to Christmas when the wreath material is on sale to see if I can make another one for a tutorial.   


I was featured!!!


I'm sharing this project at the following link parties: 


Craft & Tell

Home Stories A2Z


”Totally


Photobucket


Laugh, Love, & Craft


Photobucket


shabby creek cottage


The 36th Avenue


Craft Junkie Too Friend


Weekend Bloggy Reading

thecreativepaige.com


Positively Splendid


Related Posts Plugin for WordPress, Blogger...