Showing posts with label candles. Show all posts

Wednesday, December 12, 2012

Baby, It's Cold Outside...

I love snow! 

No, seriously. As long as I don't have to drive in it or shovel it, then I love snow! I love how it creates a blanket over everything and just for a little while, it's pretty and clean. 

In honor of snow, I found this neat project on Pinterest where they took dollar store glass votives and epsom salt and created snow votives. 

I decided to take the idea one step further and improve on it a little bit. 


Pretty, right? 

I took LED candles and epsom salt that I purchased at the dollar store, and mod podge to create snowball candles! 


I coated the candle in mod podge, then rolled it into a plate full of epsom salt covering the candle. 


 I let the candles dry, then I reapplied the mod podge and rolled coated the candles in epsom salt a second time.


Don't the candles look like they are encrusted with snow? 


I love how these little candles turned out! They look so pretty in my candle sconces too. 


Monday, November 5, 2012

Biggest DIY Project Ever!!!

My wedding was the biggest DIY project I think I've ever taken on. I've been involved in weddings before, and even currently have a couple people sucking up to me because they know they'll need my crafty skills when their big days arrive. (Yeah, Brandy Jeanne & Tiffany, I'm talking about you!)  
 
I shared several projects with you, but there were quite a few last minute ones that I didn't have time to post before the wedding craziness set in. 
 
Let's start with our save the dates
 

I was so proud of how these turned out, and more people seem to remember these unique save the dates better then our actual wedding invitations! I borrowed the idea from this Etsy store and loved it because we decided not to take engagement pictures so we didn't need to use pictures to make these. 

This brings me to my invitations!


It was a simple gate card with a green card printed with all the details. The gate card was then closed and put into a sleeve of burlap and ribbon. They were very time consuming, but I LOVE how they turned out.

We used mason jars as decor for the wedding. I decorated these jars that we hung on shepard hooks that lined the aisle. 

photograph by Heidi Hoffman Photography

I also used mason jars as vases for the tables. I wanted blue mason jars since I loved the look, but I didn't want to have to pay the price. So what's a girl to do? I painted them! 

photograph by Heidi Hoffman Photography

 Can you tell? 

The other table decor that I used was burlap table runners, baby food jars wrapped in lace for citronella candles and little thank you notes on every table. 


photograph by Heidi Hoffman Photography

Very simple and easy set up and take down. I loved it! 


photograph by Heidi Hoffman Photography

I wood burned bride and groom signs to hang on our chairs for our sweetheart table. 


My friend. Naomi found the perfect old fashioned drinking mugs for me, and I etched the bride and groom into them using the same font that I used on our invitations. 


photograph by Heidi Hoffman Photography

I used the mason jar design on our programs as well. They were three pages that stacked, hole punched and tied together with twine. Brandy, Tiffany and I did them in one three hours session just a few nights before the wedding. 


I also wood burned the heart sign for the card box, which was an unfinished crate that Matthew used a blow torch to bring out the wood grain on. 


photograph by Heidi Hoffman Photography

Brandy, Tiffany and I wrapped 200 sets of silverware in napkins and tied them together with a piece of burlap and ribbon. It made it easy in the buffet line to grab a roll and go through the line.


photograph by Heidi Hoffman Photography

I wrapped a candle with burlap and ribbon as a memory candle in honor of those loved ones that couldn't be with us to share in our special day.


photograph by Heidi Hoffman Photography
Speaking of people who couldn't be with us for our special day, I made these charms with pictures of both sets of my grandparents, Grandpa & Granny Bradley and Grandpa & Grandma Hiseley. I tied them to my bouquet and they were also able to walk me down the aisle, along with my parents. 


photograph by Heidi Hoffman Photography

I also wood burned little hearts and put pins on the back for my Dad, Matthew and Jason to wear instead of traditional boutonnieres. 


I also made these corsages for the Mom's and Grandma's to wear out of paper flowers and ribbon. 


My wedding was the biggest DIY challege that I ever took on, and I know that if I could go back and do it over, I wouldn't change a thing. The day was perfect! And all the little details that I made myself just added to the uniqueness of the day. 


If you're interested in seeing more wedding pictures from our special day, click here.


I'm sharing this project at the following link parties: 

~ Show Me What Ya Got @ Not Just A Housewife ~ Love It & Link It Up @ The Little Giggler ~ Talent Tuesday @ Vintage Wanna Bee ~ Wow Me Wednesday @ Ginger Snap Crafts ~ Your Whims Wednesday @ My Girlish Whims ~ Wicked Awesome Wednesday @ Handy Man Crafty Woman ~ Show & Share @ Southern Lovely ~ Creative Juice Thursday @ Momnivore's Dilemma ~ Transformation Thursday @ The Shabby Creek Cottage ~ BFF Open House Link Party @ The Answer Is Chocolate ~ Weekend Bloggy Link Up @ Serenity Now ~ Strut Your Stuff Saturday @ Six Sisters' Stuff ~ Weekend Wrap Up Party @ Tatertots & Jello 


Thursday, January 26, 2012

"When In Doubt, Just Add Glitter!"

link

While planning on making these mod podged flameless candles inspired by Crafting Rebellion, I ran across this picture on Pinterest. 

link

Glitter on candles? I've seen it done on traditional candles, so I figured I'd give it a try on some dollar store flameless candles.  What do you think?


I'm thrilled with how they turned out!


Wanna see how I did it? 

Supplies: 
flameless candles
glitter (whatever color you want!)
mod podge
paint brush or sponge brush
paper plate or piece of paper


First I took the labels off the candles. If you are using the dollar store ones, like what I've used, they are kind of a pain, but will come off eventually. 


Working in sections, apply a thin coat of mod podge along the side of the candle.


Once you've applied your mod podge, sprinkle a layer of glitter over the wet mod podge and tap off the excess glitter. I did this step over a paper plate, so I could reuse the excess glitter, but a piece of paper works just as well.


Keep working around the outside of the candle with a coat of mod podge, than a coat of glitter until the entire candle if covered.  


When the sides of the candle are covered, coat the top lip of the candle and dip it into glitter that you've put onto the plate (or piece of paper). Make sure it's well coated. 


When the first coat was dry, I did add a second coat on the red and the pink candle because the glitter looked a little thin, but you don't have to add more glitter if you don't want to. When your candles are dry, and your happy with the amount of glitter on them, the next step is to seal your glitter using your mod podge. Using your paint or sponge brush, coat a thin layer of mod podge over the glittered area of your candle. The mod podge will go on white, but it dries clear. 


When the last coat of mod podge is dried, you are finished, although you could easily embellish them with twine or ribbon wrapped around the candle and tied into a cute little bow or come up with some equally creative embellishment. The fun part is that you can use any color, so you can make them for any occasion!


I think a few of these will make Valentine gifts for a few sweet girls that I know! 


I'm sharing this project at the following link parties: 

Make It Great Monday @ Etcetorize ~ Cure For The Common Monday @ Lines Across My Face ~ What's In The Gunny Sack @ The Gunny Sack ~ Talent Tuesday @ Vintage Wannabe ~ Tutorials & Tips Link Party @ Stories From A to Z ~ Take-A-Look Tuesday @ Sugar Bee Crafts ~ Tuesday Talent Show @ Chef-In-Training ~ Turning the Daunting Into Do-able Link Party @ Project Queen ~ Totally Tutorial Tuesday @ My World Made By Hand  ~ Show Me What Ya Got @ Not Just A Housewife ~ Tell Me Tuesday @ Me & My Boys ~ Time To Shine @ A Diamond In The Stuff ~ TOO Cute Tuesday @ Funky Polkadot Giraffe ~ Craft and Tell @ Cherished Bliss ~ Lil' Luna Link Party @ Lil' Luna ~ Hoo's Got Talent @ Night Own Crafting ~ Wow Me Wednesday @ Ginger Snap Crafts ~ Your Whims Wedneday @ My Girlish Whims ~ Show and Tell @ Blue Cricket Design ~ Wicked Awesome Wednesday @ Handy Man, Crafty Woman ~ What's Up Wednesday @ Sew Woodsy ~ Show and Share @ Southern Lovely ~ Share The Wealth Wednesday @ Laugh, Love and Craft ~ Creative Juice Thursday @ Momnivore's Dilemma ~ Transformation Thursday @ The Shabby Creek Cottage ~ Share Awesomeness Thursday @ The 36th Avenue ~ T.G.I.F. Link Party @ Craft Junkie Too ~ BFF Open House Link Party @ The Answer Is Chocolate ~ Anything Goes Linky @ Welcome to Bacon Time ~ Weekend Bloggy Reading @ Serenity Now ~ Delicately Constructed Fridays @ Delicate Construction ~ Weekend Wrap Up Party @ Tatertots & Jello ~ Watcha Got Weekend @ Lolly Jane Boutique ~ Head To Head Showdown @ I Can't Stop Crafting ~ Strut Your Stuff @ Six Sisters' Stuff ~ Show and Tell Saturday @ Be Different Act Normal ~ Saturday Seven Party @ Positively Splendid ~ Sundae Scoop Link Party @ I {Heart} Nap Time ~ Think Pink Sunday @ Flamingo Toes ~ Sister Sunday Link Party @ Sisters of the Wild West ~ Sunday's Best Par.tay @ My 1929 Charmer ~ Craft Catwalk @ Embellishing Life ~


Tuesday, January 24, 2012

Let's Shed Some Light On The Subject...

When I was trying to figure out what to make for the first round of One Month To Win It, I briefly thought about mod podging graphics to candles. I even strolled down the candle aisle at Michael's, and saw LED candles and thought that would be an awesome project. However, the Michael's LED candles were more money than I was willing to spend, so I filed it away for another day. 

Imagine my surprise when I saw these super cute mod podged LED candles that Crafting Rebellion had made using LED candles... from the DOLLAR STORE!!! 

Of course I had to copy borrow such an awesome idea!


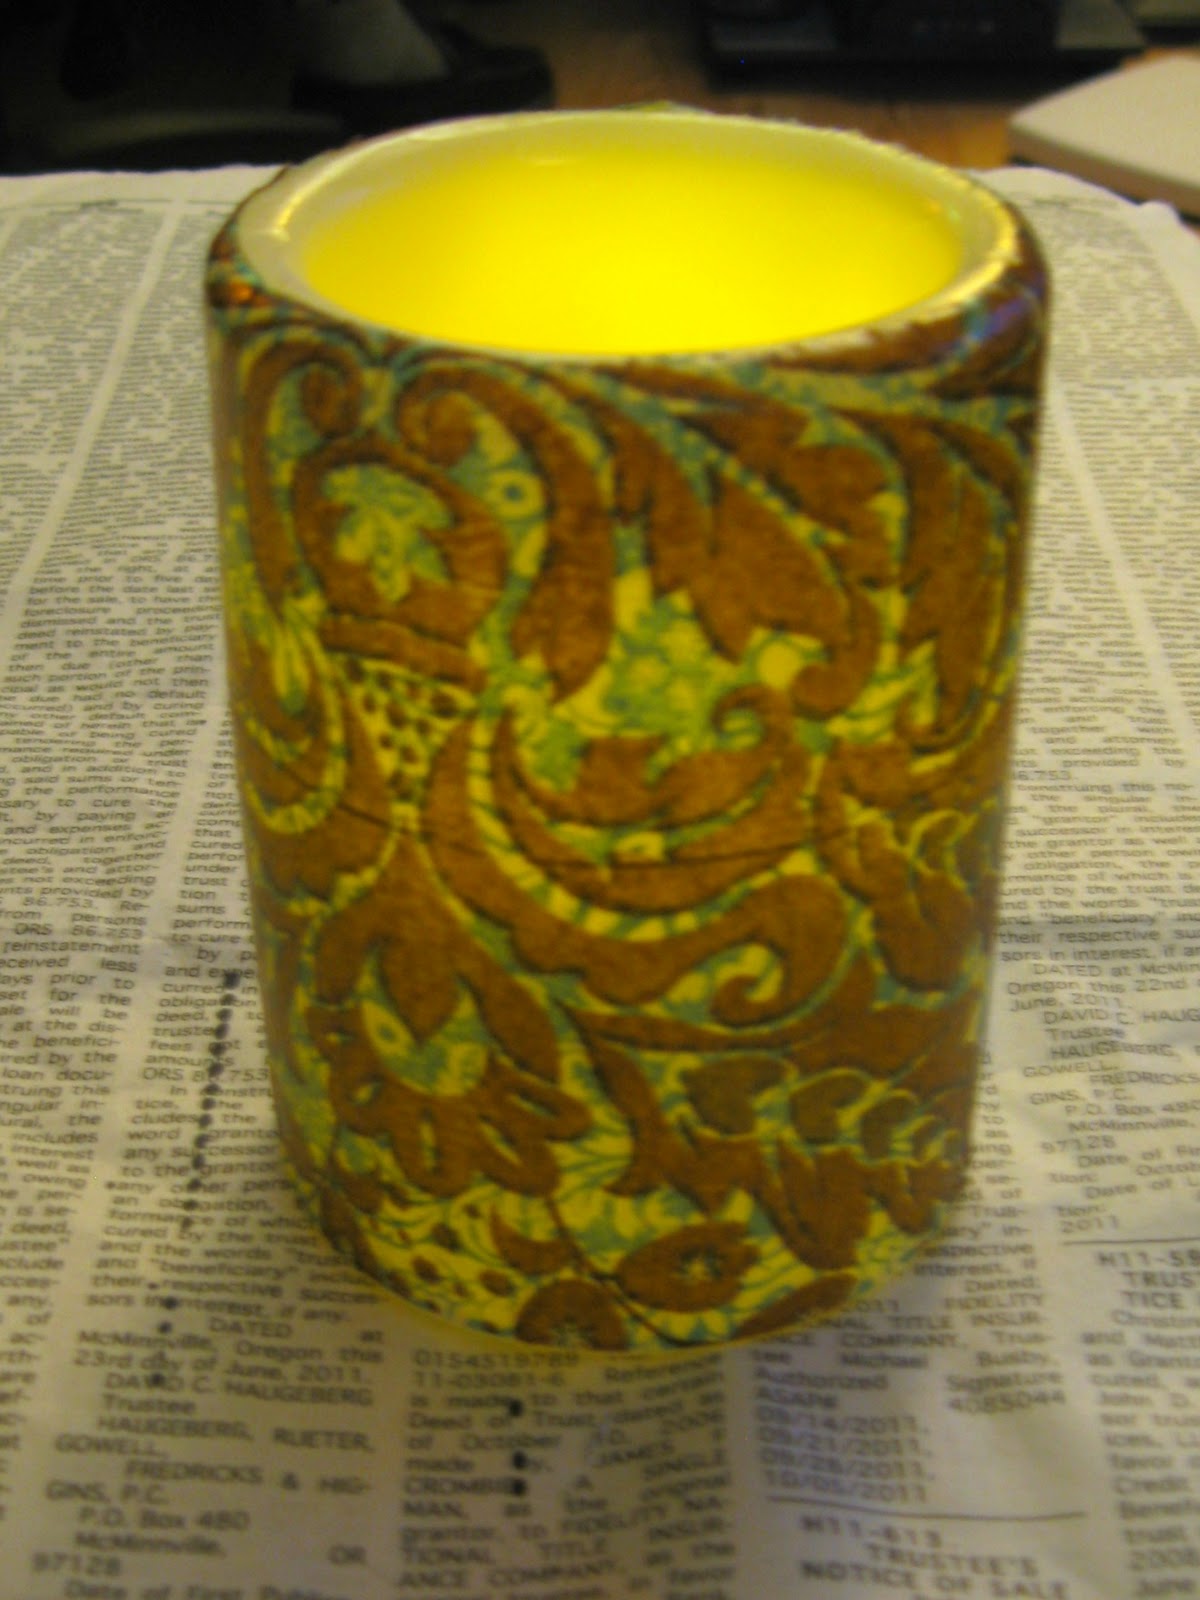
I found some paper napkins on the discount aisle at Jo-Ann's, and following the tutorial from Crafting Rebellion, I mod podged the napkins to the candles. I did have to re-do two of the candles because my napkin ripped, but I had plenty of napkins left over so it wasn't a big problem to start over. 

I'm so pleased with how these turned out! 

I think they'd make great little gifts for friends or co-workers. You could even add a charm or ribbon as an accent. 

I had so much fun making these decoupaged candles that I was inspired to make another LED candle project that I'll be sharing with all of you on Thursday! 


Friday, July 1, 2011

Something Cuter Then Fireworks For The 4th of July

When I was first introduced to craft blogging, it was last September and one of the girls at work told me about this awesome website called Craftgossip.com. When I finally had the time to check it out, there was a luminary post for Halloween Luminaries from Crafts by Amanda that were adorable. She also linked to a previous post where she had made 4th of July Luminaries, using pretty much the same techniques. I thought they were so awesome that I added them to my to-do list to make when it got closer to July. 
 
In other words, I've been waiting since SEPTEMBER to make these 4th of July Luminaries!!!


I already had the paint and glitter glue that I needed to make these. Then I was so excited when I went to Goodwill and found the jars for .30 cents a jar!!! So $1.20 for all four jars!!! 


I love when projects turn out awesome and are cheap!!! 


Wednesday, May 11, 2011

Because I'm a Total Copy Cat...

I saw these mod podged candle holders on My Girlish Whims and knew I HAD to make them.

via My Girlish Whims
Aren't they freakin' adorable? 

Rebecca did such a great job making them and writing a great tutorial. Just click the link under the picture to check it out. 
 
But, being me, of course I had to tweak things a little bit.

I chose to use a butterfly punch, since I love butterflies so much. I found adorable candle holders in the candle display aisle of Michael's for $1 each, because I'm kinda cheap thrifty like that. 


Didn't they turn out awesome? 


I almost like mine better (I said almost, Rebecca) and I think they'll make an awesome prize for the baby shower games at the baby shower I'm hosting with my Mom this weekend.

Related Posts Plugin for WordPress, Blogger...